WebGPU game (#14): Rotor Application
Note that prior to this change, I’ve refactored the rendering to fit into the entity-component structure. This just makes the entry point for the game only involved with preparing the world and stepping the simulation. There are a few advantages. Namely, if I want to move to a client-server architecture, this makes sharing code a lot easier. The primary benefit is that meshes are reused and cleaned up automatically. Entities would previously “own” their mesh, but that mesh is now held in a resource and the entity just holds onto a reference to the mesh.
The clean up could be a lot smarter, as frequently used meshes are often cleaned up and immediately regenerated. Additionally, not all entities need to keep a model of the mesh data. This could be unloaded from memory once the buffer is created and populated on the GPU. I’ll leave these things out, but they’d be considerations for a more complex game or simulation.
This post on rotors follows from my previous post. I wanted to replace the use of direct matrix manipulation with rotors in all cases where a rotation matrix was or should have been used.
Implementation
Here’s the link for the change. The implementation of the rotor and the new multiplication method for the Vec3 type are identical to their definitions. That means rotors are applied right to left. Additionally, when two vectors are multiplied, they create a rotor which would be the sandwich product of these two vectors when applied to another vector.
This means that if you want to create a rotor that is equivalent to the rotation of some from-direction, , to some to-direction, , that you’ll have the following:
Why? Well, because the sandwich application is as follows
See how the from-vector reflection is applied first and then the to-vector reflection.
Otherwise, there’s not much to the direct implementation. It’s mostly a 1:1 of the theory described in the previous post. You will notice that I use bivectors as vectors throughout, but that is only for the ease of reuse and it is not mathematically sound. When doing this, you should stop and think about whether you’re violating the theory. For me, that means working through the algebra since that aspect is not intuitive or easily memorable!
Transforms and Billboards
The aspect I want to focus on is the replacement of the rotation matrix with a
rotor, and how it affects the Billboard component. The rotor is a rotation,
but conventionally I’ve defined it to mean a rotation from positive ,
which gives us an orientation that can be used in the graphics pipeline.
I want to focus on the new section of code for the Billboard component:
const cameraDir = cameraComponent.dir().neg();
// Make the entity's up the same as the camera's up.
const orientor = cameraComponent.up().mul(Vec3.unitY());
// Determine the new direction of the entity. This
// would be z+ before the orientor rotor is applied.
const entityDir = orientor.sandwich(Vec3.unitZ());
// Now face the entity, after the up-orientation
// rotation, towards the camera.
const facer = cameraDir.mul(entityDir);
// Rotors are sandwiched after being composed, so
// orientor is applied first, then facer.
transform.rotation = facer.mul(orientor);
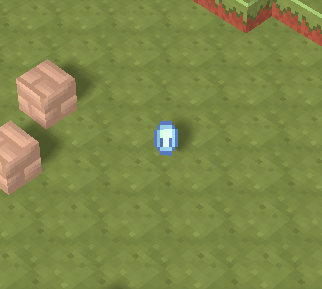
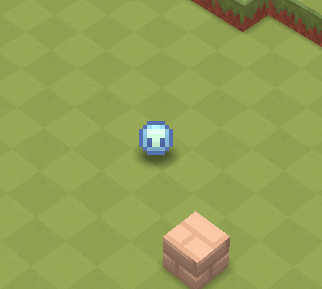
I’ve kept the inline comments as they explain the order of operations as discussed earlier in the post. The best way is to visualize this in steps, so the following is a series of screenshots after applying each rotor. Starting with no application of rotors to the identity, we have:
Previously, we used a change of basis to make the character look straight at the camera. While I’m sure there’s a simpler way to make this work, I managed to make the character face the camera with the application of two rotors. First, I oriented the “up” direction of the character with that of the camera’s “up”.
From there, I just needed to face the new forward direction of the character with the reverse of the direction of the camera.
This is a lot more computation than before, and I’d just suggest that
billboards be created directly in a shader to avoid all of this embarrassingly
parallel
work on the CPU. At the very least this only needs to be calculated once per
frame. The rotor can just be copied to all transforms with a Billboard
component since it doesn’t actually take the entity’s transform into account.
Camera
I followed up with the camera in a separate commit. This commit is rather compact. I opted to keep the yaw and pitch controls for the camera which then directly build up the rotor. It follows a similar approach to the [Billboard] component, except I start with the yaw and then orient with the -axis (Actually the -plane) to determine the pitch. This sets the transform which is later used, via a change of basis, to produce the original view matrix.
The previous method for producing the change of basis matrix actually has a limitation in that the camera is constrained to a pitch between . If you set the camera outside of those bounds, it has some rather unpredictable behaviour. With a rotor, the camera is free to rotate freely without this limitation and without the limitation of the gimbal lock that would occur with Euler angles.
Conclusion
And there we have it! Nothing has changed. Except, this opens the door for a number of possibilities moving forward. The camera is now free to orient in any way, and entities can build up compositions of rotations through rotors. The implications are great, even if I won’t particular utilize it for this game. This was definitely a worthwhile journey of learning for me. From a previous post in 2023, I said:
I’m skipping rotations, as I’m still debating with myself whether to use three ordered Euler operations or finally learn and use quaternions.
I’ve managed to circumnavigate this statement and thwart my past self by doing neither and learning to use rotors! Neat.